Table of ContentsClick to view all sections
- Photo and Signature: Start with the official instructions
- How to prepare a clear photograph
- How to prepare a signature image
- Scan, crop and resize without damaging the image
- A simple pre-upload checklist
- Illustrative example: matching files to a portal
- Common mistakes to avoid
- Protect your personal information
- Conclusion
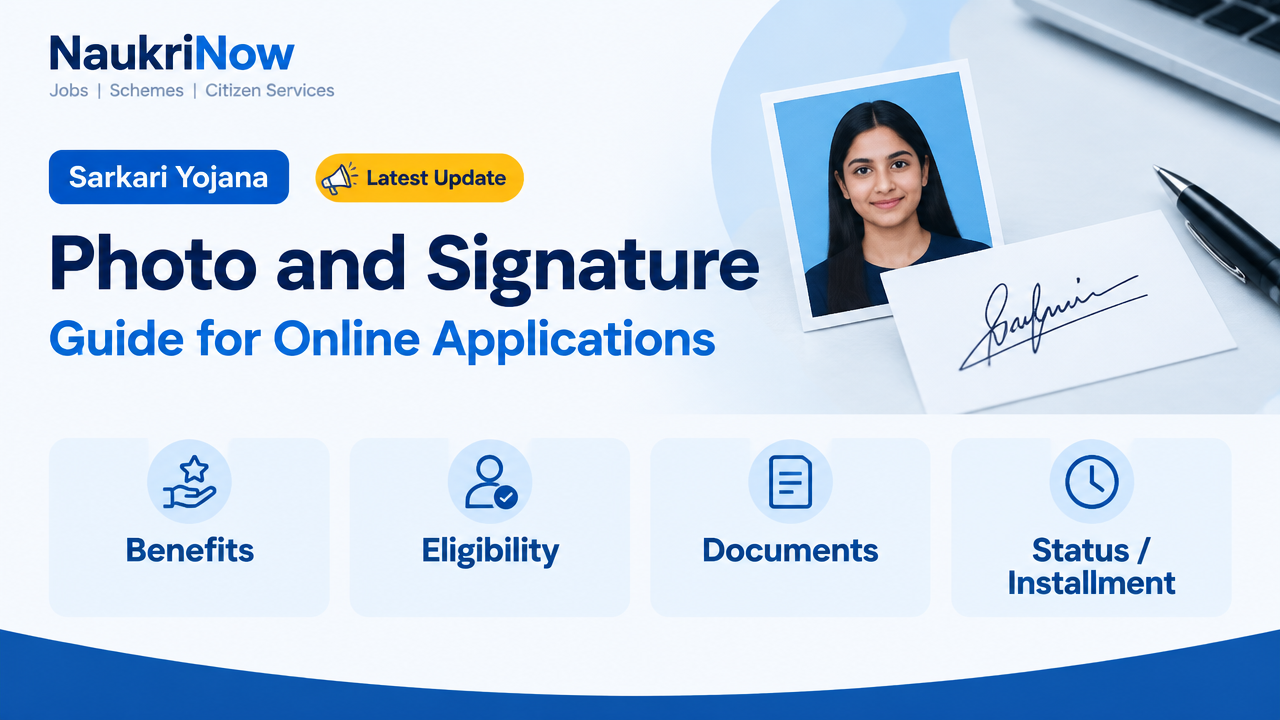
Photo and Signature Guide for Online Applications
A photograph and signature may seem like small parts of an online application, but an unclear image, incorrect file type or wrong dimensions can cause trouble at upload or verification. The safest approach is to prepare both files carefully and check them against the instructions for the specific form you are completing.
There is no single file size, image dimension, format or background that applies to every recruitment, examination, admission or other online application in India. Requirements can differ between portals and may change. Treat the official notification and instructions on the application website as the final authority. This guide explains how to prepare good-quality images without assuming one set of specifications will work everywhere.
Photo and Signature: Start with the official instructions
Before taking a photograph or scanning a signature, open the relevant application page and locate its image-upload instructions. Check the requirements for each file separately. A portal may specify a format, maximum file size, minimum or exact dimensions, aspect ratio, background, colour mode or other conditions. It may also provide a sample image or a built-in crop tool.
Record the photo and signature requirements in a short checklist. Pay attention to whether the stated file size is a minimum, maximum or permitted range, and whether dimensions are given in pixels, centimetres or another unit. Do not assume that a photograph and signature share the same requirements. If the official notification and the upload page appear to conflict, recheck the latest instructions on the responsible official website before proceeding.
- Confirm the permitted file format for each upload.
- Note the exact dimensions or aspect ratio, if specified.
- Check the file-size limit and whether it applies to each image individually.
- Read any rules about the photograph, signature, background or scanning.
- Check whether the portal requires a particular naming convention or provides its own crop and preview tools.
How to prepare a clear photograph
- Use an image that meets the form’s rules. If the instructions specify a recent photograph, follow that requirement. Do not substitute an old image just because it is convenient. If the form gives no guidance on when the photo was taken, do not assume a particular period; check the official instructions or contact the authority through a channel listed on its official website.
- Choose a simple setting. A plain, evenly lit background generally makes a portrait easier to see, but use a specific background colour only when the form asks for it. Avoid strong shadows, bright spots, busy scenery and objects that hide your face.
- Position yourself carefully. Face the camera and keep your head within the frame, with enough space around it to allow cropping. Follow any official directions on posture, expression, head covering, glasses or other appearance details. Do not treat general online advice as a replacement for the application’s rules.
- Use even light and a steady camera. Natural light from in front of you can help avoid harsh shadows. Keep the camera stable and check that the image is in focus. Avoid strong filters, portrait effects, colour changes or beauty tools that alter how you look.
- Check the original before editing. Zoom in enough to see that facial details are clear and that the image is not grainy, blurred or overexposed. Make sure no part of your head or face is unintentionally cut off.
A phone camera can be suitable if it produces a clear image and the portal accepts the resulting file. A selfie is not automatically acceptable: use one only if it meets the official requirements. If the portal has a live capture option, follow its on-screen directions rather than uploading a separate image where the form expects a camera capture.
How to prepare a signature image
Make the signature on clean, unruled paper unless the application gives different instructions. Use the pen, ink colour and signing method specified by the authority. If it does not specify an ink colour, use a clearly visible pen and avoid faint marks. Sign naturally, as you would on a paper document; do not try to imitate a sample signature that is not yours.
- Leave room around the mark. Write the signature at a comfortable size with a little clear space on all sides. Do not let strokes touch the paper’s edge, a printed line or another mark.
- Keep the paper flat. Place it on a clean, plain surface. Avoid folds, creases, stains, ruled lines and shadows that could be mistaken for part of the signature.
- Capture the whole signature. Scan or photograph the paper in good light, directly from above. Keep the camera parallel to the page so the signature does not look slanted or distorted.
- Crop with care. Include the complete signature and a narrow margin. Remove excess blank space only if the portal’s required dimensions can still be met. Do not cut into a stroke or add marks to make a signature look different.
- Compare it with your usual signature. The uploaded image should be a genuine representation of your own signature. If the form later requires a signature in person, using a consistent signature can help avoid unnecessary questions.
If a portal asks for a handwritten signature, do not upload typed text, a font that imitates handwriting or someone else’s signature. If it specifically requests a digital signature or a different signing method, follow those directions instead.
Scan, crop and resize without damaging the image
A flatbed scanner can give a clean, evenly aligned result. A phone scanning app can also work if it saves a clear image and does not add a watermark, border or unwanted filter. Whichever method you use, check that the final image satisfies the portal’s requirements rather than relying on a device’s default settings.
Crop to the subject, not so tightly that important details are lost. For a photo, keep the required parts of the face and head visible. For a signature, retain every stroke and any margin the instructions require. If the portal specifies an aspect ratio, match it before uploading; stretching an image to force it into a shape can make it look unnatural.
Resize only as needed. Enlarging a small, blurry picture does not restore missing detail, and repeated resizing or saving can reduce quality. If a file is too large, use a reputable image editor or a built-in portal tool to bring it within the stated limit. Keep the proportions intact and inspect the result at normal viewing size. Do not reduce file size so far that the face or signature becomes difficult to read.
Use the specified file format. Changing a file’s name or extension alone does not convert it: renaming a PNG file with a JPG extension, for example, may leave the underlying format unchanged. Use an image application’s export or save-as option to convert files, then open the saved copy to confirm it looks right. If the instructions mention a particular resolution or scanning setting, follow that direction; otherwise, avoid treating any one resolution as a universal rule.
A simple pre-upload checklist
- The file matches the current instructions on the official application website.
- The image is in an accepted format and within the stated size and dimension limits.
- The photo is clear, correctly framed and not altered with filters.
- The signature is complete, legible and genuinely yours.
- The file opens on your device and displays in the right orientation.
- The selected file is the final version, not an earlier draft or an unrelated image.
- You have kept a private copy of the final files and can find them again if needed.
Before pressing submit, use the portal’s preview if one is available. Check the preview itself, not just the thumbnail in your file manager. Confirm that the photo and signature have not been rotated, squeezed, cropped incorrectly or placed in each other’s upload fields. A successful upload indicator confirms that a file was accepted technically; it does not necessarily confirm that the image meets every eligibility or verification condition.
Illustrative example: matching files to a portal
Suppose an application page asks for a portrait in one image format and a signature in another, with separate dimensions and size limits. First prepare each image separately. Export each in its required format, check its own dimensions and file size, and give the files clear names such as photo-final and signature-final. Open both files, compare them with the portal’s examples if provided, and upload each to the matching field. This is an illustration of the checking process, not a set of specifications to copy. Use the values shown on the official page for your own application.
Common mistakes to avoid
- Reusing an old image without checking the rules: a previously accepted file may not satisfy a different form’s instructions.
- Guessing the dimensions or file size: limits are portal-specific, so use the stated values rather than advice from an unrelated website.
- Submitting a screenshot: screenshots can include interface clutter, reduce clarity or have unsuitable dimensions. Start with the original image where possible.
- Over-editing: filters, heavy sharpening, artificial backgrounds and retouching can make an image unclear or inconsistent with the requested photograph.
- Cropping too tightly: cut-off hair, face edges or signature strokes can make an otherwise clear file unusable.
- Changing only the extension: the file may still be in the wrong format and fail to open or upload properly.
- Using a third-party compression site without considering privacy: a face photograph and signature are personal information. Prefer an offline editor or the official portal’s own tools when practical.
- Uploading the wrong file to a field: check the field label and preview before continuing.
- Waiting until the final moment: allow time to retake, scan or resize an image if the portal rejects it. Follow the application’s official deadline; do not rely on an unofficial countdown or reminder.
Protect your personal information
A photograph and signature can identify you, so handle the files with care. Upload them only through the official application website or another channel the responsible authority identifies. Check the website address carefully, especially if you arrived through a search result, message or social media post. Be wary of sites that promise approval or ask you to send identity images through an unrelated form.
Avoid sharing your application files, login details or one-time passwords with strangers or public groups. Do not leave your files in a shared computer’s downloads folder. If you use a shared device, remove local copies when you have finished, sign out of the application and avoid saving passwords in the browser. Keep a private backup in a place you control, and delete temporary copies you no longer need.
Frequently Asked Questions
What size should my photo and signature be?
There is no universal size that applies to every form. Check the current instructions on the relevant official application website for the accepted format, dimensions and file-size limit for each image.
Can I use a mobile phone to take the photograph?
Usually a phone can produce a usable image if the portal accepts uploads and the photo meets its rules for clarity, framing and file specifications. Use a live-capture feature if the application specifically requires one.
Is a white background compulsory?
Not for every application. Use the background colour or style specified by the responsible authority. If no colour is stated, choose a simple background that keeps the image clear, but do not assume that this replaces any formal requirement.
Can I upload a scanned signature?
Use a scan or photograph only if the form asks for an uploaded image of a handwritten signature. Follow its instructions on paper, ink, format and dimensions. If it requires another signing method, use that method instead.
Can I resize or compress the image?
Yes, when necessary to meet the portal’s limits, provided the image remains clear and correctly proportioned. Use a trusted tool, save in the required format and inspect the final file before uploading. Avoid changing the image in ways that misrepresent your appearance or signature.
What should I do if the portal rejects my file?
Read the exact error message and compare the file with the official specifications. Check the format, dimensions, file size, orientation and image clarity. Make a corrected copy and try again. If the problem continues, use the support or contact information published on the official website; do not rely on unverified contact details.
Can I use the same photo and signature for every application?
You may be able to reuse a file if it genuinely meets the new application’s instructions and remains suitable for that form. Check each portal separately, since one application’s accepted specifications or photo requirements may differ from another’s.
Conclusion
Preparing a photo and signature is easiest when you begin with the official instructions, create clear original images and check each finished file before uploading. Do not rely on one-size-fits-all dimensions, file limits or background rules. Follow the requirements shown by the authority responsible for your application, use the portal preview where available, and protect your files as personal information. A few careful checks can prevent avoidable upload problems and help you submit a complete application.
Comments