Table of ContentsClick to view all sections
- Photo and Signature Guide: Start with the official instructions
- What makes a suitable photograph?
- How to prepare a signature image
- A reliable workflow from paper to upload
- File size, dimensions and format: read them separately
- Illustrative example: check each requirement, not a remembered rule
- Mistakes to avoid
- If an upload fails
- Quick pre-upload checklist
- Conclusion
Photo and Signature Guide for Online Applications
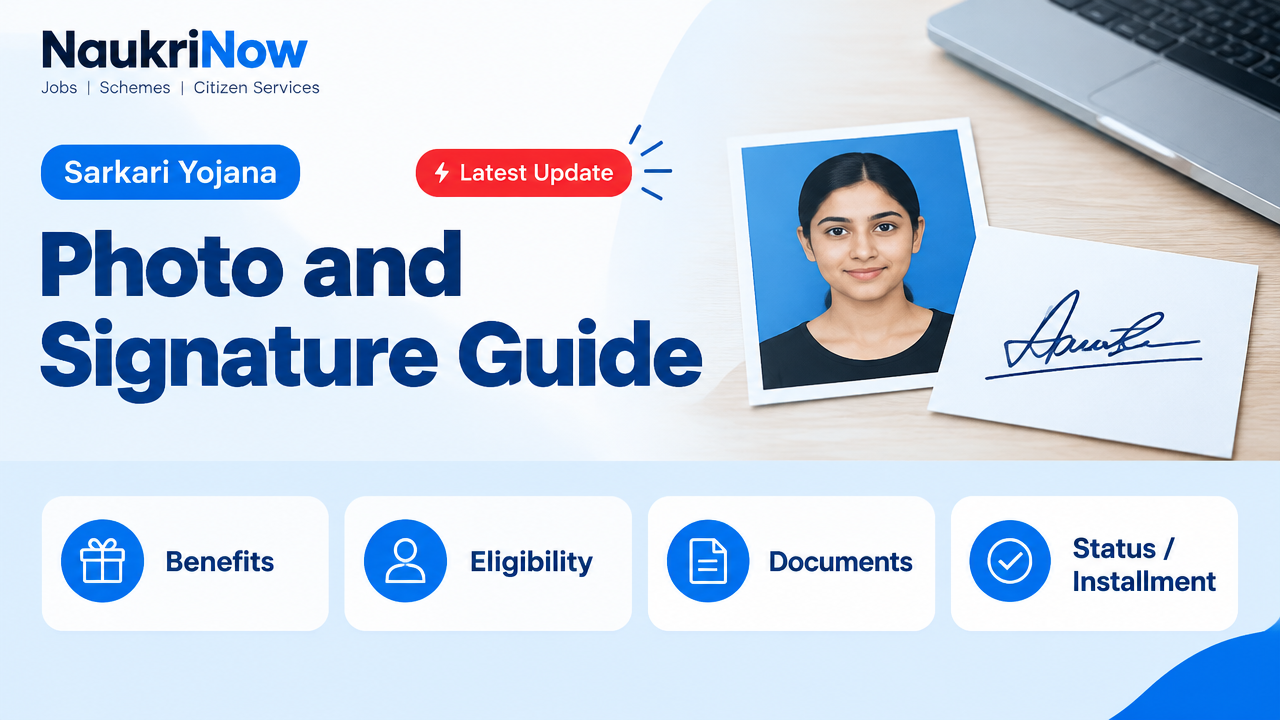
A photograph and signature may look like small parts of an online application, but an unclear image or incorrect file can delay submission or lead to rejection if it does not meet the portal’s requirements. The rules are not the same for every recruitment, admission, examination or public-service application. Dimensions, file size, format, background and other conditions can vary—and may change between application cycles.
Use this guide to prepare clear files and avoid common upload problems. Before you begin, read the current instructions on the official application portal and in the relevant notification. Those are the sources to follow if a general tip here differs from a specific requirement.
Photo and Signature Guide: Start with the official instructions
Find the section about photograph and signature uploads before editing either image. Check the requirements for each file separately. Note the permitted format, maximum and minimum file size if stated, image dimensions or aspect ratio, and any rules about colour, background, date, clothing or how the signature must be made. Also check whether the portal asks for a separate image, a combined document or a photograph captured through an on-screen tool.
Do not assume that the same image will work for every form. A portal may ask for a particular crop or file type, while another may accept a different specification. If the notification and the upload page appear to disagree, check for a later official notice or instruction on that portal. Avoid relying on an old screenshot, social-media post or a specification copied from another application.
What makes a suitable photograph?
When the portal asks for a passport-style photograph, use a recent, recognisable image that follows its stated framing and background rules. Usually, the face should be clearly visible and positioned as instructed, without a strong shadow or distracting background. Keep a neutral expression if the instructions call for one. These are practical starting points, not a substitute for the portal’s exact directions.
- Choose a clear original: Use a photograph in which your face is in focus and adequately lit. Avoid blurry images, heavy shadows, glare and extreme contrast.
- Follow the specified framing: Check whether the image should include the head and shoulders, a particular amount of space above the head, or another crop. Do not guess the required proportions.
- Use the requested background: A plain background can make a portrait easier to read, but use a particular colour only if the instructions require it.
- Keep your appearance recognisable: Do not use filters, beauty effects, artificial backgrounds or edits that change facial features. Remove items such as glasses or head coverings only if the official instructions require it and doing so is appropriate for you.
- Use a suitable image date: Some applications specify how recent a photograph must be. Follow that rule where stated; do not assume an age limit when none is provided.
If a portal asks you to take a live photograph or use its camera facility, follow that process rather than uploading a saved image unless the portal explicitly gives you a choice. Check the camera permission and lighting first so you are not trying to troubleshoot them at the last moment.
How to prepare a signature image
Make the signature on clean, plain paper using the writing instrument and ink colour specified by the portal. If no particular ink colour is stated, choose one that produces a strong, clear mark against the paper. Sign naturally and at a comfortable size. A cramped, faint or unusually oversized signature can be difficult to read after cropping or resizing.
- Sign on a clean surface. Keep the signature away from lines, printed text, folds and stains. Leave a modest amount of blank space around it so you can crop the image neatly.
- Capture it evenly. Scan the page or photograph it in bright, even light. Keep the camera parallel to the paper to avoid a slanted shape. Make sure the ink is in focus and the paper does not appear grey from a shadow.
- Crop carefully. Include the complete signature and a small margin. Remove unnecessary blank areas, but do not cut into any letter, flourish or stroke.
- Keep it authentic. Upload your own signature in the form requested. Do not type your name in a script font, copy another person’s signature or alter the mark to make it resemble a different one.
Signatures naturally vary over time, but the uploaded image should be an honest representation of the signature you use. If the portal gives a specific method—for example, signing in a designated box or capturing a signature with an on-screen tool—use that method.
A reliable workflow from paper to upload
- Read and record the specifications. Write down the rules for the photograph and signature separately. In particular, distinguish the file-size limit from image dimensions; they are different requirements.
- Prepare clean originals. Select the appropriate photograph and create a fresh signature on plain paper if needed. Do not start by editing a poor-quality or blurry image; resizing cannot restore missing detail.
- Scan or capture in good light. Use a scanner or a phone camera that can produce a sharp, evenly lit image. Keep the image straight and avoid reflections, shadows and patterned surfaces.
- Crop and adjust with care. Crop to the requested framing. If you need to reduce file size, use a trusted image editor or your device’s built-in tools. Preserve enough detail for the face or signature to remain clear. Do not stretch an image to force it into a different shape.
- Save in an accepted format. Use only a file type listed by the portal. Changing a filename extension does not convert an image; a file renamed from one extension to another may still be in its original format.
- Check the finished files. Open each file and inspect it at a useful size. Confirm that it is upright, complete, legible and not accidentally replaced by a blank or unrelated image.
- Upload and preview. Select the correct file in the correct field. If the portal provides a preview, inspect it before saving or moving to the next section. Follow any on-screen confirmation or final-submission steps.
- Keep a secure copy. Save the exact files you uploaded and, where available, a copy of the submitted application or acknowledgement. Store them privately rather than leaving them on a shared device.
File size, dimensions and format: read them separately
Upload instructions can list several technical limits. File size is the amount of storage the image uses; dimensions describe its width and height in pixels; aspect ratio describes the relationship between those dimensions. Meeting one limit does not automatically mean you meet the others. For example, a small file may still have the wrong shape, while an image with the correct dimensions may exceed the permitted file size.
When reducing a file, avoid repeatedly saving it through methods that make the image visibly worse. If the image is too large, use a reputable tool that lets you choose an accepted format or adjust compression. If it is too small or already blurred, return to the original and capture or scan it again at better quality. Never enlarge a low-quality image and assume that the added pixels will restore detail.
Be cautious with free online converters, especially on a shared or public device. A photograph and signature are personal information. Prefer a trusted offline editor or a device feature you understand. If you use an online tool, consider its privacy practices and remove the uploaded file from the service if that option is available.
Illustrative example: check each requirement, not a remembered rule
Suppose an imaginary application asks for a recent colour photograph as one file and a scanned signature as another, and displays separate size limits beside the upload fields. The useful response is to prepare two distinct files, compare each against the stated limit, and inspect both previews. It would not be safe to reuse a size or format remembered from another application. This example is only a way to think through the process; it does not describe any real portal’s specifications.
Mistakes to avoid
- Using specifications from an old form: A previous application may have had different requirements. Recheck the current official portal each time.
- Uploading the wrong image in a field: Give files clear names on your device, such as a neutral label for the photo and another for the signature, then verify the preview.
- Cutting off the image: Check that the full face and the entire signature remain visible after cropping.
- Editing beyond the instructions: Do not reshape facial features, add a signature digitally or apply effects that make the image misleading.
- Confusing file type with file name: Renaming a file does not change its format. Use a proper conversion tool if conversion is necessary.
- Waiting until the final moment: A weak internet connection, browser issue or file that needs rework can take time to fix. Prepare and test the files before beginning the final submission where possible.
- Ignoring the preview or confirmation: An upload may not be complete just because a file was selected. Check that it appears in the correct field and follow the portal’s save and submission instructions.
- Sharing personal images unnecessarily: Avoid sending your photo or signature to unknown people or uploading them to untrusted editing sites.
If an upload fails
Read the error message first; it may identify an unsupported format, file that exceeds a limit or missing field. Compare the selected file with the portal’s current instructions, then correct that specific issue. If the file appears to meet every stated requirement, try selecting it again or using a different up-to-date browser or device, if available. Check the official portal’s help or contact information for assistance rather than trusting unofficial accounts or phone numbers.
Before closing the page, confirm whether the application has been saved or submitted. Do not assume that refreshing a page is harmless while an application is in progress; follow the portal’s own guidance if you are unsure. Keep any error message or reference details that may help when seeking official support, but do not share sensitive application information publicly.
Quick pre-upload checklist
- I checked the current instructions on the official application portal.
- The photograph and signature each meet their own stated requirements.
- The files use an accepted format and are within any stated limits.
- The photograph is clear and framed as instructed; the signature is complete and legible.
- I have opened both files and checked the portal’s previews.
- I know whether the application is saved, submitted or still awaiting confirmation.
- I have kept a private copy of the correct files and submission record, if available.
Frequently Asked Questions
Can I use the same photograph for every application?
Only if it meets the current requirements of each application and remains appropriate for any stated photo-date rule. Check the official instructions every time; do not rely on a file that worked for a different portal.
Can I take my photograph with a mobile phone?
A phone can work if it produces a clear, evenly lit image and the portal accepts an uploaded photograph. Follow the required framing and background instructions. If the portal requires a live photo capture, use its specified process instead.
Can I type my name as my signature?
Do not substitute typed text for a handwritten signature image unless the portal explicitly instructs you to enter or create the signature that way. Follow the stated method and use your own signature.
Can I use an online tool to resize or convert my image?
You can, but choose carefully: photographs and signatures are personal information. A trusted offline tool is preferable where practical. Whatever tool you use, check that the final file still meets the portal’s format, size and clarity requirements.
What should I do if my signature looks faint?
Start again with a fresh signature on clean paper and capture it in better light. Editing may not make a faint or blurry original legible without damaging its appearance. Check that the replacement follows the portal’s instructions before uploading it.
Why does a file fail even when it looks correct?
It may exceed a file-size limit, have unsupported dimensions or use a format the portal does not accept. Check the error message and compare the actual file with the official specifications. A filename extension alone does not change the underlying format.
Where should I check the exact requirements?
Use the current official application portal and its linked notification or instructions. If information appears inconsistent, look for an official clarification or use contact details published on that portal. Do not treat third-party posts as the final authority.
Conclusion
A good photo and signature upload begins with the right instructions, not with a particular editing app or a specification remembered from elsewhere. Prepare clear, authentic images, adjust them only as needed, check each file against the current official requirements and inspect the portal preview before proceeding. When a rule is unclear, confirm it through the responsible official source. A few careful checks can prevent avoidable errors and help you complete an online application with confidence.
Comments