Table of ContentsClick to view all sections
- Document Upload Guide: Before you start: a practical checklist
- Step 1: Check what the portal actually asks for
- Step 2: Create a clear scan or photograph
- Step 3: Match the format and size rules
- Step 4: Use clear file names
- Step 5: Upload one field at a time and verify it
- Useful examples: what to check in common situations
- Privacy and safe handling
- Common mistakes to avoid
- If an upload fails
- Conclusion
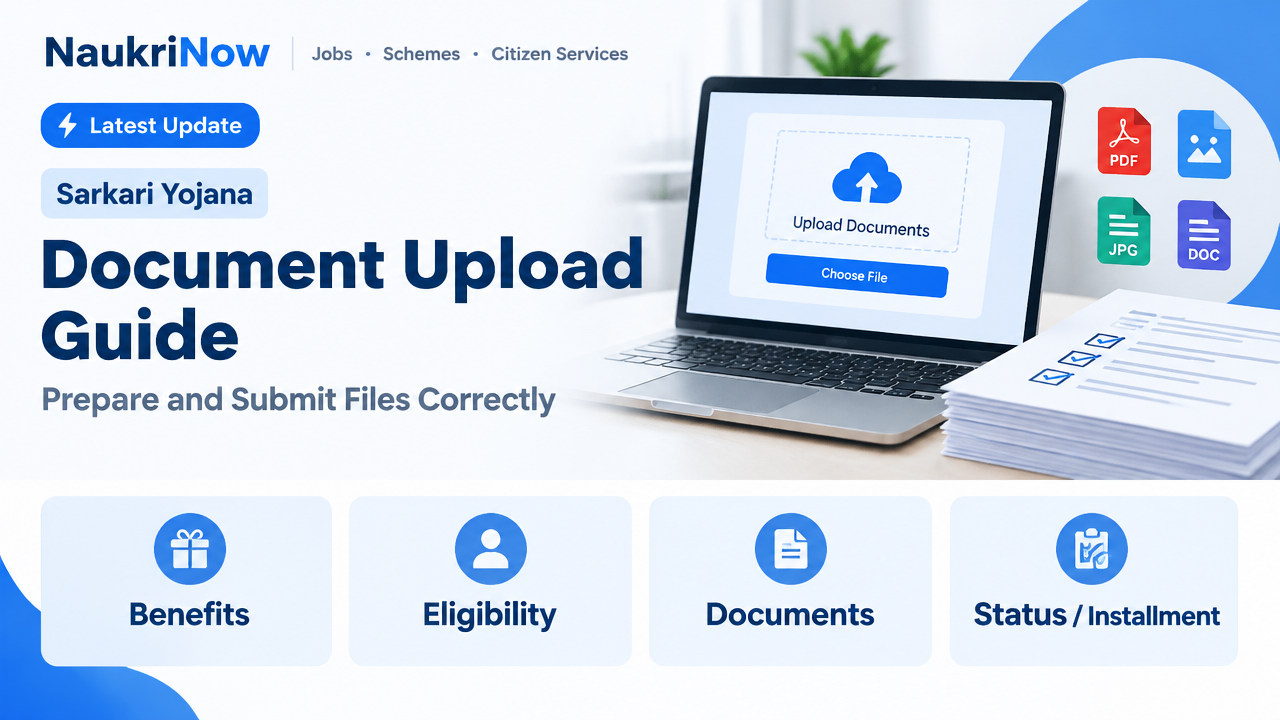
Document Upload Guide: Prepare and Submit Files Correctly
Uploading documents online is a routine part of applying for a job, examination, course or public service. Yet a file can be rejected or overlooked if it is blurry, incomplete, saved in an unsupported format or attached to the wrong field. Careful preparation makes the process smoother and reduces the risk of having to submit everything again.
This guide explains how to prepare, name and upload documents, and what to check before you submit a form. Requirements differ between portals, so treat the instructions on the relevant official website as final. For current rules, accepted file types, size limits and any application-specific requirements, check the responsible organisation’s official notification or portal.
Document Upload Guide: Before you start: a practical checklist
- Find the official portal. Use the website linked from the organisation responsible for the application, recruitment, examination or service. Check that you are on the correct portal before entering personal details.
- Read the document instructions. Note which files are required, where each one belongs, and the permitted format, dimensions, file size or naming convention. These can vary by form and may change.
- Gather the correct documents. Keep the original document or a reliable copy available so you can compare details and scan every required page.
- Prepare a stable device and connection. Use a device with enough storage and battery. If possible, upload over a reliable internet connection rather than one likely to disconnect midway.
- Make a private working folder. Save prepared files somewhere you can find them easily. Avoid leaving identity documents in shared folders or on a public computer.
- Keep a record of completion. Be ready to save the application reference, acknowledgement or confirmation shown by the portal, if one is provided.
Step 1: Check what the portal actually asks for
Do not assume that every application asks for the same documents. One form might request a photograph and signature as separate image files; another might ask for a multi-page certificate as a PDF. A portal may also specify image dimensions, background, orientation, file naming or a maximum size. Follow the instructions for the particular field, not a general rule found elsewhere.
Make a short list of each upload slot and the matching document. For example, note whether the field asks for a final qualification certificate, a marksheet, proof of identity or a particular category of certificate. A document that seems relevant is not necessarily a substitute for the exact document requested.
If the instructions are unclear or appear inconsistent, look for an official application guide, notification or help section on the responsible organisation’s website. Do not rely on an old screenshot, forwarded message or unofficial post when deciding what to submit.
Step 2: Create a clear scan or photograph
A readable file is more useful than a large file. Place a paper document on a flat, contrasting surface in good, even light. Keep the camera parallel to the page, include all edges and avoid shadows, glare, fingers over the text or objects covering a seal. Check that names, dates, numbers and fine print are legible when you zoom in.
A scanner can produce consistent results, but a phone camera may be suitable if the portal permits it and the image is sharp. Use the camera’s document-scanning feature if available, then inspect its crop. Automatic scanning tools sometimes cut off a border, stamp or handwritten detail. Retake the image if the page is tilted, blurred or partly outside the frame.
For a document with several pages, follow the portal’s instructions on whether to upload one combined file or separate pages. If combining pages into a PDF, keep them in the correct order and check every page before uploading. Do not submit only the first page of a certificate or statement if the required details continue on another page.
Use colour when it is needed to preserve information, such as a coloured seal or photograph. Otherwise, choose a setting that keeps the text clear without creating an unnecessarily large file. Do not alter the contents, remove marks or change a document’s details. Cropping and basic adjustments for legibility should not misrepresent the original.
Step 3: Match the format and size rules
Common upload formats include PDF and image files such as JPG or JPEG, but a portal may accept only a particular format. The allowed maximum file size can differ from one upload field to another. Check the instructions beside each field or in the official guide before converting or compressing a file.
If a file is too large, first make a fresh scan using a sensible resolution and remove blank pages that are not required. If you use a compression or conversion tool, review the result carefully: text must remain readable, all pages must be present and the file must still open correctly. Avoid repeatedly compressing an image, which can make small text difficult to read.
Do not change a file’s extension just to make it appear to be a permitted format. Renaming a file from one extension to another does not convert its contents. Use a trusted feature on your device or software you understand, and verify the resulting file before uploading it.
Step 4: Use clear file names
A simple, descriptive file name helps you select the right document, especially when several files look similar. For instance, a folder might contain names such as qualification-certificate.pdf, identity-proof.pdf and signature.jpg. Use names that make sense to you, and follow any naming pattern expressly required by the portal.
Keep file names short and avoid unusual symbols if the portal has difficulty processing them. Do not put extra personal information in a file name unless the instructions ask for it. Before selecting a file, open it once and confirm that its contents match the label.
Step 5: Upload one field at a time and verify it
- Sign in through the official portal. Check that the page and application details are correct before starting.
- Select the matching upload field. Read its label carefully. A file uploaded to the wrong category may not satisfy the requirement, even if it is otherwise correct.
- Choose the prepared file. Check the file name and, when practical, its preview. Make sure you are not selecting an older or incomplete version.
- Wait for the upload to finish. Do not close the tab, refresh the page or repeatedly click the upload button while the portal is processing the file.
- Check the result. Look for a preview, file name, completion message or other indication that the upload was accepted. If the portal provides a way to reopen or preview the file, use it.
- Repeat for every required field. Compare the completed form with your checklist. An upload in one field does not automatically fill another.
- Review before final submission. Confirm that each file is in the correct slot and that the form details match the documents. Follow the portal’s submission steps and save any confirmation it provides.
Some systems save a draft, while others require you to complete a separate final submission step. Do not assume that choosing a file means the entire application has been submitted. Read the on-screen status and instructions carefully.
Useful examples: what to check in common situations
- A multi-page marksheet or certificate: Confirm whether the portal requests one file or separate pages. Check that pages are complete, in order and readable, including the page with the name, institution or issuing details.
- A photograph or signature: Follow the field-specific instructions for format, size, dimensions and appearance. Do not use a random image from your gallery simply because it meets the file-size limit.
- A document with a name difference: Upload the document actually requested and follow the official instructions for explaining or supporting any difference. Do not edit the document to make details appear to match.
- A file that exceeds the limit: Check whether the issue is file size, format or both. Prepare a compliant copy and verify its legibility before replacing the original file in the application.
- A portal that asks for a document you do not have: Check the official notification or portal guidance for the accepted alternative or next step. Do not upload an unrelated file just to clear the field.
Privacy and safe handling
Application documents can contain sensitive personal information. Upload them only to the official portal specified by the responsible organisation. Be cautious about links received through unsolicited messages, social media posts or unfamiliar websites. If in doubt, navigate to the organisation’s known official website and locate the application from there.
Avoid using public or shared devices for sensitive uploads where possible. If you must use one, do not save login details, download files to a shared folder or leave the account open. Sign out when finished and remove your files from the device if you can do so safely. Keep your own copies in a secure location rather than sending identity documents through an unverified chat or email address.
Never share a password, one-time passcode or account recovery code with someone who claims they need it to upload your documents. A genuine portal should let you complete its upload process through its own sign-in and form. If you need assistance, use contact details published on the responsible organisation’s official website.
Common mistakes to avoid
- Guessing the rules: File limits and accepted formats are not universal. Read the instructions for the specific portal and field.
- Uploading a blurry or cropped image: Check the full document at a readable zoom level, including its edges, stamps and smaller text.
- Choosing the wrong version: Give prepared files clear names and open each one before attaching it.
- Uploading an incomplete document: Check every required page and attachment, not just the first page.
- Changing the contents: Do not edit names, dates, marks, seals or other official details. A scan should represent the source document accurately.
- Assuming an upload is a submission: Look for the application’s final status or confirmation and complete any separate submission step.
- Ignoring an error message: Read whether it points to format, size, dimensions or another issue. Fix the stated problem instead of uploading the same file repeatedly.
- Using an unofficial converter without checking: Sensitive files may expose personal information. Prefer trusted tools and inspect every converted file.
If an upload fails
Start with the exact message displayed on the portal. If it mentions size, check the file’s size against the stated limit. If it mentions format, confirm the actual file type rather than relying only on its name. If the image is rejected, check any stated dimensions or quality requirements. Replace the file only after you have prepared and reviewed a corrected version.
If the page freezes, first see whether the portal has retained your other entries or uploads. Avoid submitting multiple applications or repeatedly pressing final submission without checking the status. You may try again after checking your connection or using a supported, up-to-date browser. If the problem continues, consult the official portal’s help guidance or contact channel, if provided. Include a clear description of the error, but do not send passwords or one-time passcodes.
Keep a private record of the application reference and any error details that may help you explain the issue. Do not rely on a screenshot of an error as proof that a form was successfully submitted; check the application status through the official portal.
Frequently Asked Questions
Which file format should I use?
Use a format explicitly accepted by the relevant portal. PDF and image formats are common, but acceptance is not guaranteed for every application or field. The official instructions take priority.
What should I do if my file is larger than the allowed size?
Check whether the portal gives a size limit for that particular field. Create a smaller scan or carefully compress a copy, then open it and confirm that every required detail remains clear. Do not simply rename the file extension.
Can I photograph a document with my phone?
Usually, a phone can produce a usable image if the portal allows that format and the page is sharp, complete and well lit. Check the crop, orientation and legibility before uploading. Follow any instructions for scanning or image dimensions.
Should I combine all my documents into one PDF?
Only if the portal asks for or permits a combined file. When separate fields are provided, upload each document to its matching field. For a multi-page item, check whether its pages should be combined or uploaded individually.
How can I tell whether my document was uploaded successfully?
Look for the portal’s file name, preview, status message or other confirmation. If the portal allows it, reopen the attached file. Then check separately whether you have completed the final application submission.
Can I upload a document through a link sent to me?
Do not trust a link solely because it was sent with an application-related message. Verify it through the responsible organisation’s official website. Use only the portal or submission route identified by that organisation.
What if the information on my document does not match my form?
Do not alter the document or guess at an explanation. Check the official application instructions for how to report a discrepancy or provide supporting information. If needed, use the organisation’s published contact route.
Conclusion
A successful document upload starts with following the right instructions, preparing a clear and complete file, and checking the result in every upload field. Keep personal documents secure, correct any error messages carefully, and confirm that the application has reached its final submitted status. Because requirements differ across services and can change, always rely on the responsible organisation’s official portal and current guidance for the rules that apply to your application.

Comments