Table of ContentsClick to view all sections
- Joining Formalities Guide: What joining formalities usually cover
- Start with your offer and written instructions
- Document checklist: organise, then verify
- A practical sequence for completing the process
- Forms and terms worth reading before you sign
- Preparing for your first day
- Mistakes to avoid
- Examples: how to handle common situations
- Conclusion
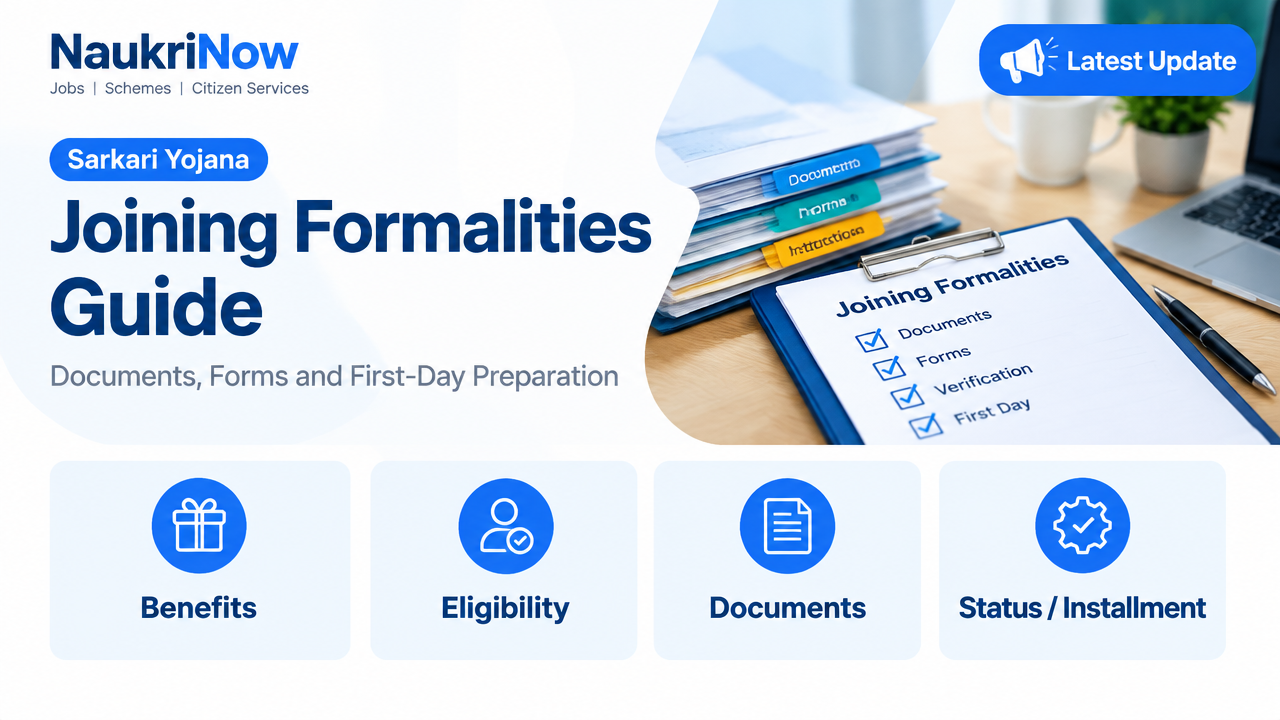
Joining Formalities Guide: Documents, Forms and First-Day Preparation
Starting a new job involves more than accepting an offer. You may need to confirm employment details, submit documents, complete forms and follow instructions for your first day. Preparing in advance helps you avoid preventable delays and gives you time to clarify anything that is unclear.
Joining requirements differ by employer, role and type of appointment. A private company, a public-sector organisation and a government department may ask for different documents or checks. Treat the employer’s written instructions as the starting point, not a generic checklist. For a government appointment, rely on the appointment letter and the recruiting department’s official website or communication channel for current requirements.
Joining Formalities Guide: What joining formalities usually cover
Joining formalities are the steps an employer uses to confirm your appointment and set up your employment record. They can include verifying your identity and qualifications, collecting payroll details, completing declarations, signing employment documents and arranging induction or access. Some employers complete these steps online; others ask you to bring copies or originals for verification.
Not every item applies to every employee. For instance, an experienced hire may be asked for evidence of previous employment, while a new graduate may not have a relieving letter. A role with additional checks may involve further steps described in the employer’s instructions. If a requested item does not apply to you, explain that clearly and ask what alternative evidence, if any, is acceptable.
Start with your offer and written instructions
Before sending forms or making travel plans, read your offer letter and any accompanying joining instructions carefully. Check the job title, team or department, work location, reporting manager if stated, employment type, compensation details, proposed start date and any conditions attached to the offer. Make sure you understand which details are final and which are subject to verification or a later discussion.
Compare the written offer with what you understood from the selection process. If the location, role, pay structure or start date seems different, raise the question with the authorised HR or recruitment contact before joining. Keep the response in writing. Do not assume that a verbal conversation automatically changes the terms in a signed document.
Also note the practical instructions: where to report, whom to contact on arrival, whether to bring originals, how to submit forms and whether you need to complete any online steps beforehand. If an email refers to an attachment or portal you cannot access, ask the employer for a secure replacement rather than guessing what is required.
Document checklist: organise, then verify
Use the following as a preparation list, not as a universal demand. Submit only what your employer requests, through a channel you have verified. Keep originals safe and provide them for inspection only when instructed; do not leave original certificates with anyone without a clear, authorised process and written acknowledgement.
- Identity and contact details: Keep a valid identity document and your current contact information ready. An employer may ask for a particular document for identity or employment records. Ask why a sensitive document is needed and how it will be submitted or stored. Never share a one-time password or banking PIN as part of verification.
- Education and professional qualifications: Gather relevant degree, diploma, marksheet, licence or certification records if these relate to the role or appear in the employer’s checklist. Check that names, course details and dates are legible. If a certificate is pending, tell the employer and ask whether another document can be accepted temporarily.
- Previous employment records: If applicable, prepare experience or service letters, a relieving or separation document, and other records the employer specifically requests. Requirements vary. If you are currently employed, follow your present employer’s notice and exit process rather than promising a document before you can obtain it.
- Payroll information: Have accurate bank account details ready if the employer asks for them to set up salary payment. Confirm the account holder name and numbers directly from your own bank records. Submit them only through a verified HR system or contact.
- Photographs and personal details: Some employers request a photograph, address details, emergency contact or other information for staff records or access arrangements. Check the requested format and purpose. Provide only the details requested and tell HR if a field does not apply.
- Role-specific or appointment-specific records: Depending on the job and the written instructions, additional declarations, reference details, background-check consent or other records may be requested. For a government role, follow the responsible department’s instructions for any verification or medical process; do not rely on a social media post or an unofficial agent.
Make a private checklist with three columns: requested, submitted and still pending. Record the date and submission method for each item. Keep a copy of forms and acknowledgements for your own records, but store identity and financial documents securely. Avoid sending sensitive files to an unfamiliar personal email address or through an unverified link.
A practical sequence for completing the process
- Confirm the offer. Read the documents, note any conditions and get clarification on differences or missing details before accepting or making commitments.
- Check the sender and submission route. Confirm that messages come from the employer or an authorised recruitment contact. When unsure, use contact details from the employer’s official website or a previously verified communication, rather than details in a suspicious message.
- Ask for the exact document list. If instructions are broad, request a written checklist and ask whether originals, scans or self-attested copies are needed. Clarify file format, naming conventions, deadlines communicated by the employer and the correct upload location.
- Prepare accurate copies. Scan or photograph documents clearly, including all relevant pages. Do not edit details to make a document appear different. If a name, address or date varies between records, disclose the difference and ask what supporting explanation or record is appropriate.
- Complete forms carefully. Use consistent, accurate information and read declarations before signing or submitting them. Do not guess at a field you do not understand. Ask HR whether it should be left blank, marked not applicable or completed using another record.
- Submit and keep a record. Use the approved channel and save confirmation emails, portal receipts or acknowledgements. If a document is rejected or marked incomplete, ask what needs correction and submit the requested replacement through the same verified process.
- Confirm first-day arrangements. Check the reporting location or online meeting details, arrival instructions, contact person and items to bring. If you have a disability-related access need or another practical concern, contact the employer in advance to discuss arrangements.
Forms and terms worth reading before you sign
Joining paperwork may include an employment agreement, policy acknowledgements, personal-information forms, payroll declarations or consent for checks. Read each document rather than treating every signature as a routine formality. Pay attention to the role and location stated, compensation components, notice and separation terms, confidentiality obligations, information-use notices and any conditions that affect your appointment.
If a policy or agreement is unclear, ask for an explanation or a copy to review. Do not sign a blank form or a statement you know to be inaccurate. If a provision has a significant effect on your decision and you cannot resolve it with HR, consider getting independent professional advice. This guide is general preparation advice, not legal or tax advice.
Preparing for your first day
Save the joining instructions somewhere accessible and confirm the reporting time and location directly with the employer if they are unclear. Plan your route or check your device and internet connection for a remote start. Keep the HR contact’s name and a working way to reach them in case you are delayed or cannot access the premises or meeting.
Bring only the documents and items requested. If originals are needed for verification, carry them securely and keep them with you unless an authorised process requires otherwise. You may also want a notebook, a list of questions about your role and a copy of your offer for reference. On arrival, ask where to check in and who will guide you through induction, system access and team introductions.
During your first few days, learn where official policies and internal contacts are kept. Find out how to report a problem with access, payroll details or personal information. Check that your name and contact details are recorded correctly and raise errors promptly, using the employer’s designated process.
Mistakes to avoid
- Assuming every employer asks for the same papers. A checklist found online may not match your role. Follow the employer’s written requirements and ask about anything missing or not applicable.
- Waiting until the last moment. Locating old records, correcting a scan or requesting a document from a previous employer can take time. Review the checklist early and tell HR promptly if something is pending.
- Sending sensitive information to an unverified recipient. Check the email domain, portal address and contact before uploading identity or bank details. If a request feels unusual, independently confirm it with the employer.
- Sharing passwords, PINs or one-time codes. These are not substitutes for normal identity documents. Do not disclose them to a recruiter or use them to satisfy a request from an unknown person.
- Submitting inconsistent or guessed information. An unexplained mismatch can delay verification. Be transparent about differences and ask what supporting evidence is acceptable.
- Signing without reading. Keep a copy of documents you sign and raise unclear or conflicting terms before you commit. A rushed signature can leave you unsure about important conditions later.
- Relying only on a phone call. If an instruction changes a document requirement, reporting arrangement or offer detail, request confirmation in writing so both sides have a clear record.
Examples: how to handle common situations
Your name is spelled differently on two records. Do not alter either document. Tell HR which spelling appears on each record, ask which record should be used for the employee profile and whether they need supporting evidence. Submit any explanation or additional document only through the requested channel.
A previous-employer document is not available yet. Explain what is pending and when you expect to receive it, if you know. Ask whether the employer can proceed with another record in the meantime. Avoid creating a replacement letter yourself or stating that you have a document you do not possess.
You receive a request for bank details through an unfamiliar link. Do not upload anything until you verify the request independently. Contact HR through a known company email address or official contact route and ask for the correct payroll submission process. Never provide a PIN, password or one-time code.
The offer and joining instructions show different locations. Pause before travelling or arranging accommodation. Forward the discrepancy to the authorised contact, ask which location applies and save the written confirmation. This is more reliable than choosing one document based on assumption.
Frequently Asked Questions
What documents should I carry on my first day?
Carry the items listed in your employer’s joining instructions. These may include identity, qualification or previous-employment records, but there is no single list that applies to every job. Ask whether originals are needed for inspection and whether copies should be submitted in advance.
Are joining formalities the same for every company?
No. Employers set processes according to the role, organisation and applicable requirements. Even within one organisation, different appointments may involve different checks. Use your offer and official joining communication as the authority for your case.
What if I do not have one of the requested documents?
Tell HR as soon as possible, explain why it is unavailable and ask what alternative or follow-up process they accept. Do not assume that a similar-looking document will be sufficient, and do not create or change records to fill the gap.
Should I hand over original certificates?
Only bring or provide originals when the employer’s verified instructions require them, for example for inspection. Ask what will happen to any original that must be retained and request a written acknowledgement. Keep personal originals secure.
How can I check whether a joining message is genuine?
Check the sender and link carefully, then confirm through a known employer contact or the organisation’s official website. Be especially cautious if a message asks for money, passwords, one-time codes or urgent document uploads through an unfamiliar channel. Do not treat an unofficial post as confirmation of an appointment.
What should I do if my offer details differ from what I discussed?
Contact the authorised HR or recruitment representative before accepting or joining. Identify the exact difference, request clarification in writing and keep the response with your offer records. Do not rely on an assumption that a verbal understanding overrides written terms.
Where should I check requirements for a government appointment?
Use the appointment letter and the official website or verified communication channel of the recruiting body or responsible department. Follow the instructions for your specific appointment and confirm uncertainties directly with that authority. Requirements can differ by post and recruitment process.
Conclusion
A smooth start comes from reading your offer closely, following the employer’s own checklist and keeping your information accurate and secure. Prepare documents early, ask clear questions when something is missing or inconsistent, and retain records of what you submit. For any changing or appointment-specific requirement, confirm the latest instruction with the responsible employer, recruiting body or government department through its official channel.
Comments