Table of ContentsClick to view all sections
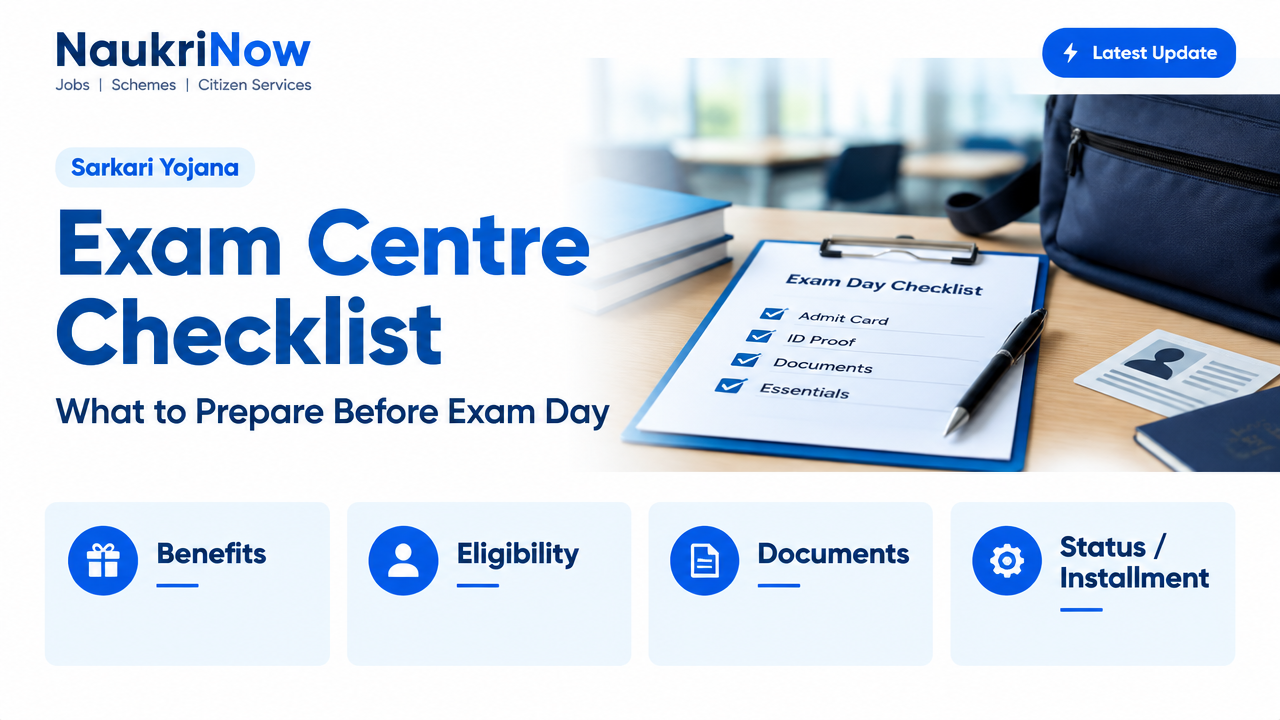
Exam Centre Checklist: What to Prepare Before Exam Day
Exam day is easier to manage when you have checked the instructions, organised your documents and planned how to reach the centre. A small oversight—such as carrying the wrong version of an ID or going to a similarly named venue—can create avoidable stress.
Use this guide to prepare, but treat the instructions issued for your particular examination as the final authority. Requirements can differ between exams, sessions and centres. Check your admit card and the exam authority’s official website for current reporting times, permitted items, identity-proof rules and entry procedures. Do not rely on an old notice, a forwarded message or a checklist from another exam.
Exam Centre Checklist: Start with the official instructions
As soon as your admit card or candidate instructions are available, read them from beginning to end. Check the details for your own exam, not just general advice. If an instruction is unclear, look for a clarification on the responsible exam authority’s official website or contact route provided in its official materials.
- Confirm the date and session: Check the examination date, start time, session and any reporting time shown for you. Do not infer these from another candidate’s schedule.
- Read the entry requirements: Note which documents and photographs are required, whether originals or printouts are specified, and any instructions about signatures or candidate declarations.
- Check the venue carefully: Record the complete centre name and address. If the admit card includes a centre code, building name, gate or other identifying detail, keep it with the address.
- Review item restrictions: Check what is allowed and prohibited for this exam. Rules about stationery, calculators, watches, bags, electronic devices, food and personal belongings are not universal.
- Look for updates: Before leaving, check the official website and any official candidate portal for a revised notice, venue detail or instruction.
Save or download the official documents somewhere you can access them offline, and keep a paper copy if the instructions call for one. A screenshot or saved file is useful for reference, but it does not replace a printed document when a printout is required.
Documents to check and pack
Use your own admit card as the starting point. Make a list of every document it requires, then check each item physically before the day. The exact combination varies, so do not assume that a document accepted for one examination will be accepted for another.
- Admit card or hall ticket: Check that it is for the correct exam, date, session and candidate. Make sure the photograph, name and other printed details are legible. Follow the instructions on whether it must be printed in colour or black and white, and whether any section must be completed before arrival.
- Identity proof: Carry the specific original identity document named in the instructions, if one is required. Check that the name and identifying details match the exam record as closely as the rules require. Do not assume that a photocopy, digital image or alternative ID will be accepted.
- Photographs: Bring a recent photograph only if the official instructions request one. Check whether the required size, format or number is specified; avoid guessing based on a different exam’s rules.
- Declarations or supporting documents: Some exams may request a signed undertaking, a particular certificate or other supporting material. Pack only what the relevant instructions ask for, and complete any required fields beforehand.
- Writing materials: Carry stationery only if it is permitted or required. Some examinations provide materials or specify a particular type, so check before packing pens, pencils, erasers or other items.
Place the required documents together in a simple folder that is easy to reach. Keep papers flat and dry. If you have made a permitted printout, check that no page is missing and that any QR code, photograph or printed text is clear. Avoid writing on, altering or laminating an admit card unless the official instructions explicitly allow it.
Pack only permitted essentials
A lighter bag is easier to manage and less likely to contain an item that causes difficulty at entry. Before packing anything beyond required documents, check the exam-specific list of permitted items. A product being ordinary or useful does not automatically make it acceptable inside an exam centre.
Depending on the official instructions, useful permitted items might include required stationery, a transparent water bottle or personal necessities. These are examples, not a promise that every centre will allow them. If an item is not mentioned or its status is unclear, check the official instructions rather than relying on another candidate’s experience.
Pay particular attention to electronic devices and accessories. Mobile phones, smart watches, earphones, calculators, storage devices and other equipment may be restricted, but the exact rules differ. Do not plan to leave a prohibited item with a friend, in a vehicle or at the centre gate unless an official facility is explicitly confirmed. A centre may not be able to store personal belongings.
If you need medication, an accessibility aid or another essential personal item, read the exam’s rules well in advance. Follow any stated approval or declaration process and carry supporting documentation if it is requested. When the instructions do not address your situation, ask the exam authority through a contact method published in its official materials before exam day.
Plan your route and arrival
Do not wait until the morning of the exam to work out where the centre is. Check the address against a reliable map, but use the admit card as the authority for the venue. Map results can point to a similarly named institution, a general campus entrance or a location in a different part of the city.
- Match the full address: Compare the centre name, locality, city and any code or building details on your admit card with the route you plan to take.
- Check the final approach: Identify the likely entrance and any distance between a transport stop, campus gate and exam building. If feasible, familiarise yourself with the area in advance.
- Allow for uncertainty: Consider traffic, roadworks, weather, public transport changes and time needed to find the correct building. Leave a sensible buffer rather than aiming to arrive at the last possible moment.
- Prepare a backup: Know another practical route or transport option. Keep enough phone charge for navigation if you plan to use a phone before entering, while remembering that devices may not be allowed inside.
- Follow the stated reporting time: Plan to reach the location in time for the reporting instructions on your admit card. Do not substitute the exam start time for the reporting time.
If you are travelling to an unfamiliar town, check your onward journey from the station, airport or bus stop and allow for delays. If someone is accompanying you, agree beforehand where to meet after the examination and what to do if mobile access is unavailable. Do not assume that companions can enter the centre or wait inside its premises.
The night-before and morning routine
The evening before, use a short check rather than repeatedly repacking. Set out your clothing and permitted essentials, charge devices you will use for travel, and keep your documents in one place. Check the official website once more for updates, especially if the authority has issued a notice or revised instructions.
In the morning, eat and hydrate in a way that suits you, without taking food or drink into the centre unless it is allowed. Dress comfortably and check any clothing-related instructions for your exam. Avoid adding accessories or carrying extra items at the last minute without checking whether they are permitted.
Before leaving home, pause for a final check:
- Do you have the correct admit card for today’s exam and session?
- Have you packed every required original document and any requested photograph or declaration?
- Have you checked the latest official instructions and the correct centre address?
- Are you carrying only permitted items?
- Do you have enough time to reach the venue and locate the right entrance?
At the centre: stay calm and follow directions
On arrival, follow signs and instructions from authorised centre staff. Keep your documents ready for checks, but hand them over only when requested. Entry procedures may include identity verification or other checks specified for the examination; cooperate and ask a staff member politely if you are unsure where to go.
Do not take photographs, make calls or use a device in a restricted area. Follow instructions about where to wait, when to enter and where to place permitted belongings. If you notice a problem with your admit card, identity document or centre details, raise it with authorised staff promptly and follow the official process. Do not try to solve a serious discrepancy by editing a document or relying on an unofficial assurance.
Once inside, listen carefully to instructions before starting. If the exam is computer-based, check that you are at the correct workstation and report a visible technical or seating issue to an invigilator. If it is paper-based, wait for instructions before opening or writing on the question paper or answer materials. The procedure for each exam is set by its authority and centre.
Common mistakes to avoid
- Reading only the first page: Important conditions may appear in later sections or in a separate candidate notice. Read every relevant instruction.
- Assuming a familiar rule applies: A calculator, pen, bottle or ID accepted at one test may not be accepted at another. Check the rules for this exam.
- Going by the map pin alone: Confirm the full printed address and centre details. A map pin is a navigation aid, not proof that you have the right building.
- Keeping documents in separate places: A last-minute search adds stress. Put required papers together and check them before leaving.
- Arriving at the start time: Reporting and entry may begin earlier, and access may be controlled according to the admit card. Plan around the stated reporting time.
- Taking restricted belongings without a backup plan: Storage may not be available. Leave prohibited items at home or make a safe arrangement in advance, if the official instructions permit one.
- Trusting unofficial updates: Social posts and group messages can be outdated or mistaken. Verify changes with the responsible exam authority.
Practical examples
If your ID name differs slightly from your application: Do not assume the difference will be overlooked. Compare both documents with the exam’s stated identity rules and contact the authority using its official route if you need clarification. Carry any supporting document only if it is relevant and permitted; it may not replace a required ID.
If two centres have similar names: Match the full address and any centre code on your admit card. Check the route to the exact building, not simply the institution’s name. If something still does not match, seek clarification before travelling.
If you discover a missing document on exam morning: Check the official instructions to confirm whether it is compulsory and whether any alternative is permitted. Contact the exam authority through its published channel if available, and speak to authorised centre staff on arrival. Do not alter a document or rely on an unverified online answer.
If you require an accommodation or an essential item: Review the exam’s published process early, including any deadline or approval requirement. Keep confirmation from the authority accessible and follow the instructions issued for your case.
Frequently Asked Questions
What should I carry to an exam centre?
Carry the documents and items specifically required or permitted by your exam’s official instructions. This commonly involves an admit card and, where required, an identity document, but the exact list varies. Check your own admit card and the exam authority’s current guidance.
Is a digital admit card enough?
Not necessarily. Some exams require a printed copy, while others may give different instructions. Follow the format stated in your official materials. Saving a digital copy for reference is sensible, but it does not replace a required printout.
Can I use any government-issued ID?
Do not assume that every ID is accepted. The exam instructions may name particular documents, require an original or set conditions for matching candidate details. Use the specified ID and ask the authority if you are unsure.
Can I take a phone, watch or bag inside?
Restrictions vary by examination and centre. Check the prohibited-items list for your exam. Do not count on being able to store belongings at the venue unless the official instructions confirm that an arrangement exists.
How early should I reach the centre?
Use the reporting time on your admit card, not a general rule of thumb. Plan your journey so you can reach the location with a reasonable buffer and find the correct building without rushing.
What if my admit card has an error?
Contact the exam authority using the official website or contact details published in its materials as soon as you notice the problem. Keep a record of any official response and follow its directions. Do not change the document yourself.
Where should I check for changes to exam-day instructions?
Check the responsible exam authority’s official website and any candidate portal or communication channel named in your official materials. Treat unofficial websites, social posts and forwarded messages as unverified until confirmed by the authority.
Conclusion
A reliable exam centre checklist begins with the instructions for your own examination. Confirm the date, session, reporting time, venue, required documents and item restrictions; organise everything the night before; and plan a route with enough time to handle delays. If a rule or personal requirement is unclear, verify it with the responsible exam authority through an official channel. Careful preparation cannot control every exam-day surprise, but it can prevent many avoidable ones and help you arrive ready to focus on the test.



Comments