Table of ContentsClick to view all sections
- Document Verification Guide: What document verification usually checks
- Start with the official instructions
- Build a practical document checklist
- Check names, dates and other details before you go
- Prepare clear, complete copies and digital files
- Plan for translations, attestations and supporting explanations
- What to do on the day of an in-person check
- Protect your information from misuse
- Common mistakes to avoid
- Useful examples
- Conclusion
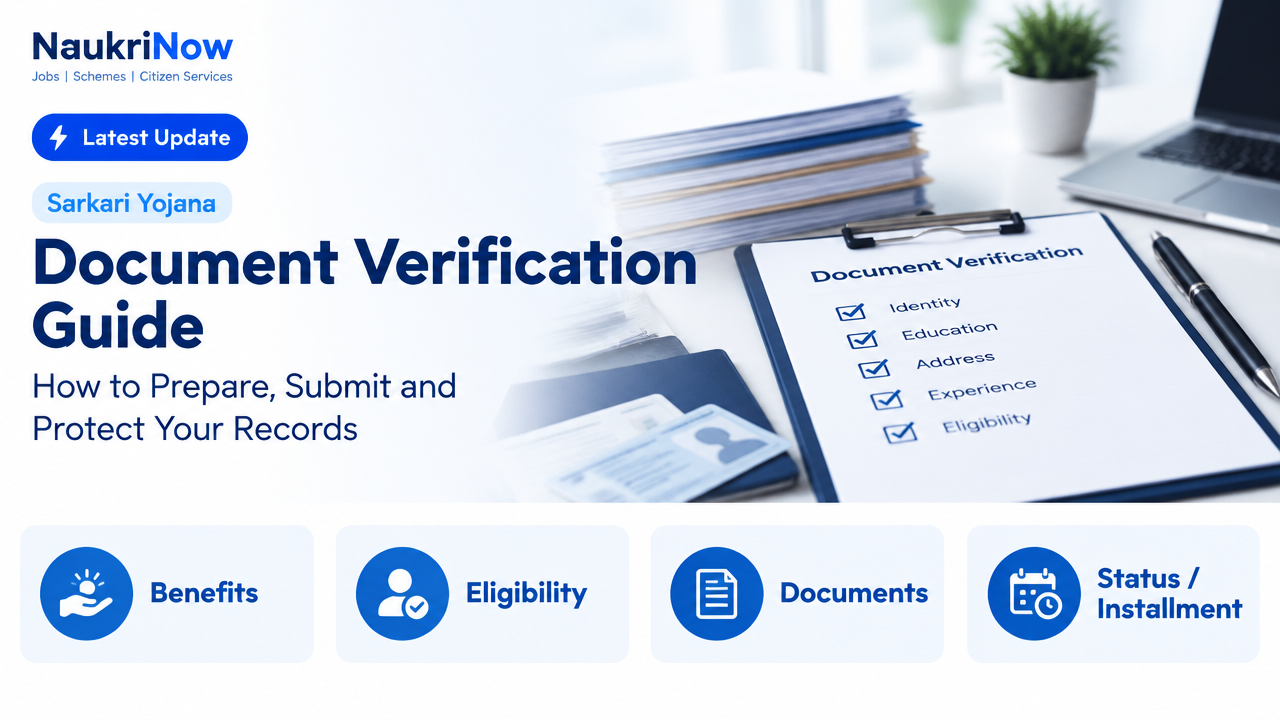
Document Verification Guide: How to Prepare, Submit and Protect Your Records
Document verification is a check that the information you have supplied matches the records you provide as evidence. It may be part of a job application, admission, examination, benefit claim, licence or another service. The documents requested, acceptable formats and verification process differ between organisations and purposes, so there is no single checklist that works for every appointment.
Use this guide to get organised, spot common problems early and handle your records carefully. For the current document list, format, appointment process or other requirements, rely on the official notice, portal or office responsible for your application—not an old checklist or an unofficial message.
Document Verification Guide: What document verification usually checks
A verifier may compare details such as your name, date of birth, address, qualifications, work history or eligibility information with supporting records. The purpose and scope depend on the organisation. For example, an employer may ask for evidence related to identity, education or experience, while an admissions office may focus on academic records and eligibility. These are examples, not universal requirements.
Some checks are completed in person; others use uploaded files, digital records or a combination. An organisation may ask to see an original, submit a copy, upload a file or provide information through its own system. Do not assume that a document accepted for one application will be accepted for another.
Start with the official instructions
- Find the responsible source. Open the official website, application portal, notice or communication issued by the organisation handling your case. If you are unsure whether a message is genuine, use contact details published on that official source rather than replying to the message.
- Read the full instructions. Check the document list, who must provide each document, whether originals or copies are needed, file type and size rules, translation or attestation requirements, appointment details and submission method.
- Check for case-specific directions. Requirements can differ by application type or by information you have declared. Read any instructions attached to your own application and ask the responsible office about unclear points before the deadline or appointment.
- Keep a copy of the instructions. Save or print the relevant official notice and note any updates. If instructions change, use the latest official version that applies to your application.
A general online article can help you prepare, but it cannot confirm what a particular authority or employer will accept. When in doubt, ask the organisation that will perform the check and keep a record of its response.
Build a practical document checklist
Make a checklist from the official requirements rather than collecting every personal document you own. Group records by purpose so you can find them quickly. Depending on the instructions, categories might include identity, address, education, employment, eligibility or name-change records. A category is not proof that a particular document is required.
- Mark each item’s status: original ready, copy ready, digital file ready, or clarification needed.
- Record the requested format: for example, whether the organisation asks to see an original, receive a photocopy or upload a scan.
- Check special conditions: note whether a copy must be signed, attested, translated or supplied in a specified format. Do this only as instructed.
- Keep related documents together: arrange them in the order used in the official checklist or application form.
- Prepare a short inventory: this helps you confirm what you carried or submitted and what was returned.
For an in-person check, keep originals secure and separate from the copies you are asked to hand over. Follow the verifier’s directions. Do not leave an original behind unless the official process specifically requires it; if an original is retained, ask for written acknowledgement and details of the return process.
Check names, dates and other details before you go
Compare your application with each supporting record. Look for differences in spelling, initials, order of names, date of birth, address, course or qualification title, employer name and dates. A small discrepancy may need an explanation or additional evidence, even when it was unintentional.
For example, an application may use a full name while an older certificate shows an initial. Do not edit the certificate or try to make the records appear identical. Ask the organisation what evidence it accepts to connect the two versions. If you have legally changed your name, check whether the organisation requires a particular supporting record and include it only in the format specified.
If a document contains an error, contact the organisation or issuing body responsible for correcting it. Avoid handwritten changes, digital alterations or covering up details unless the official instructions specifically tell you how to handle the issue. If a correction cannot be completed before your appointment, ask the verifying organisation what to bring and how to explain the pending correction.
Prepare clear, complete copies and digital files
When copies or scans are requested, make sure every relevant page is included, readable and in the required orientation. Check that names, dates, seals, signatures, registration details and other information are not cut off or obscured by glare. Keep the original file unchanged; if a portal needs a different file size or format, create a separate submission copy and check it after saving.
Use the format and upload method specified by the organisation. A photograph, scan, printout or digital record may not be interchangeable for a particular process. Likewise, the presence of a QR code or a document in a digital wallet does not by itself tell you whether that organisation accepts it. Confirm acceptance and any verification steps through the official instructions.
Before uploading, check that each file is attached to the right field and opens correctly. Use descriptive file names that help you identify the contents without unnecessarily exposing sensitive information. Keep a secure copy of submitted files and any acknowledgement or reference number provided by the official system.
Plan for translations, attestations and supporting explanations
If a record is in a language the organisation does not accept, follow its stated translation requirements. Do not assume that a self-prepared translation, a translation from a particular provider or a particular form of certification will be accepted unless the official instructions say so. Ask whether the original-language record must accompany the translation.
Similarly, do not arrange notarisation, attestation or self-attestation simply because another application asked for it. These steps are not universal. If self-attestation is required, follow the specified method and sign only the copy or form indicated—not the original document—unless the instructions explicitly say otherwise.
Where a supporting explanation is appropriate, keep it factual and brief. Identify the difference or missing record and describe the evidence you are providing. An explanation does not replace a required document, so confirm with the responsible organisation whether it is sufficient and whether any further evidence is needed.
What to do on the day of an in-person check
- Recheck the official appointment instructions, location and any access or submission directions.
- Carry only the records relevant to the stated requirements, arranged in a clear order. Take originals only when requested or needed for comparison.
- Keep a separate set of copies if copies are required, and retain your own record of what you submit.
- Answer questions accurately. If you do not know an answer or need to explain a discrepancy, say so rather than guessing.
- Before leaving, check which originals were returned and whether you received an acknowledgement for anything retained or submitted.
If you cannot attend or cannot produce a requested record, contact the organisation promptly using its official channel. Ask about the approved next step; do not rely on an informal promise that a requirement can be ignored.
Protect your information from misuse
Verification may involve sensitive personal or financial information. Share only what the official process asks for, through the stated channel. Check that you are using the correct website or portal before uploading documents, and avoid sending identity records to an unverified personal email address or messaging account.
Never share a password, one-time password or account recovery code to prove who you are. Be cautious of unsolicited demands for payment, urgent threats or promises of guaranteed approval. If a request seems unusual, pause and verify it with the responsible organisation using contact information from its official website or notice. Do not publish scans of identity, education or financial records on public social media or open forums.
Common mistakes to avoid
- Relying on an old or generic list: requirements can vary. Check the instructions for your specific process.
- Assuming a document is acceptable: confirm the required format, issuing authority or proof type when the instructions are specific.
- Ignoring a mismatch: raise differences in names, dates or other details in advance and ask what supporting evidence is required.
- Submitting incomplete or unreadable copies: review every page and file before handing it over or uploading it.
- Changing a document yourself: never edit, overwrite or fabricate information. Seek correction from the issuing body or guidance from the verifier.
- Sending more information than requested: unnecessary documents can expose personal data without helping your application.
- Leaving without a record: keep submission acknowledgements and note any original document retained by the organisation.
Useful examples
Your application and certificate show different name formats. List the exact difference and contact the verifying organisation before the appointment. Ask which evidence it accepts to establish that both records relate to you. Bring or submit only the records and format it confirms.
A scan is clear on screen but a stamp is cut off. Make a new scan that shows the whole page, then open the saved file and inspect it. If the official portal has a file-size limit, follow its instructions to create a compliant copy without changing the document’s contents.
You have a digital version but no instruction about digital acceptance. Check the official notice or ask the organisation whether it accepts that version and whether you must also carry or upload anything else. Do not treat digital availability as automatic confirmation of acceptance.
A requested record is not available yet. Tell the responsible office as early as possible, explain the situation and ask what official alternative or next step is permitted. Do not submit a substitute as though it were the requested record.
Frequently Asked Questions
Which documents should I carry for verification?
Use the list issued for your specific application or appointment. The documents needed depend on the organisation, purpose and details you have declared. A general checklist cannot guarantee acceptance.
Do I need to carry originals and photocopies?
Follow the official instructions. Some processes may ask to inspect an original, receive a copy or use a digital submission; others may specify a combination. Do not hand over originals unless the process requires it, and ask for an acknowledgement if one is retained.
Will a digital document or wallet copy be accepted?
Acceptance depends on the organisation and process. Check the official instructions for the document type, source and format it accepts. If this is unclear, ask the responsible office before relying on a digital copy.
What should I do if my name is spelled differently across records?
Do not alter any record. Contact the verifier and ask what evidence it accepts to explain or connect the name versions. If a record itself is incorrect, ask its issuing body about the official correction process.
Should I get every copy notarised or self-attested?
No single rule applies to every verification. Arrange attestation or self-attestation only when the relevant official instructions require it, and follow the specified method.
Can I submit a document in another language?
Check the organisation’s language and translation requirements. Ask whether it needs a translation, a particular form of certification or the original-language document alongside it.
How can I tell whether a verification request is genuine?
Confirm it through the official portal, notice or contact details published by the responsible organisation. Be wary of requests for passwords, one-time passwords, unverified payments or documents sent through unofficial channels.
Conclusion
A smooth document check starts with the instructions for your own application. Build a focused checklist, compare details across records, prepare legible copies in the required format and keep originals and personal information secure. If something is missing, inconsistent or unclear, ask the organisation responsible before submitting it. Its current official guidance—not a general article—determines what will be accepted.
Comments