Table of ContentsClick to view all sections
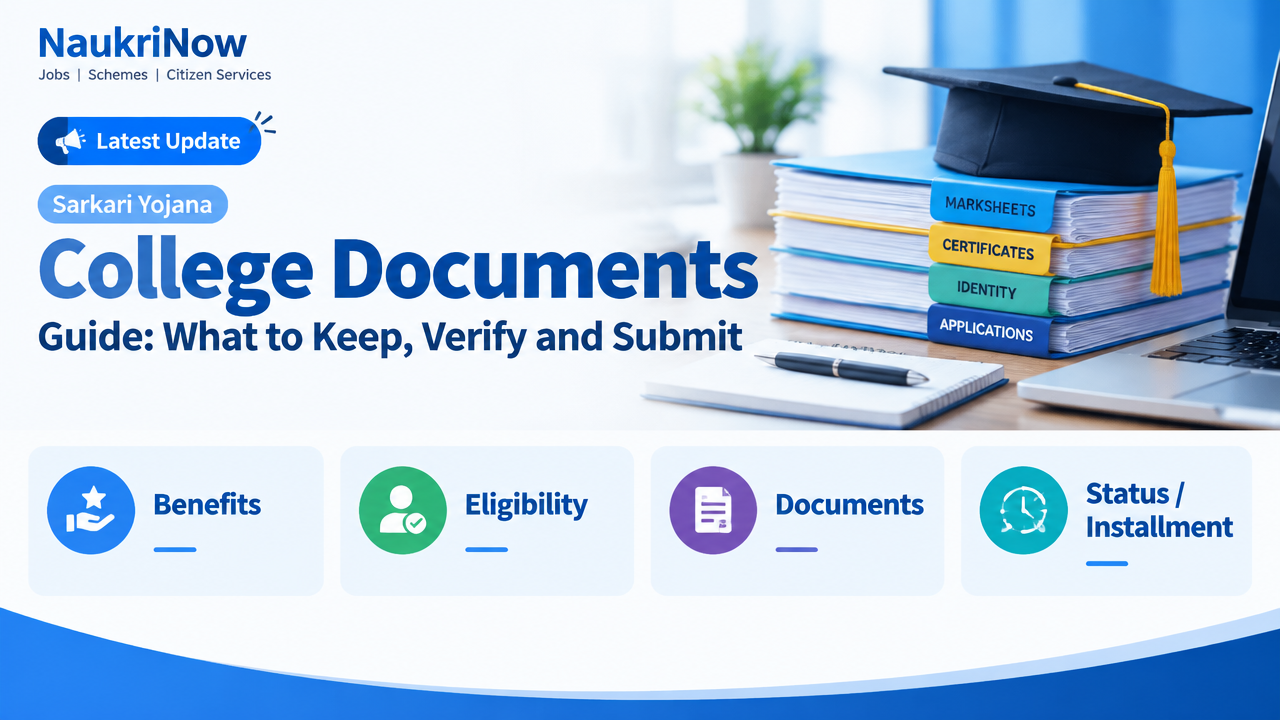
College paperwork can follow you from admission through graduation and into further study or work. A well-organised set of records makes it easier to complete forms, respond to document checks and resolve errors before a deadline. The exact documents required vary by institution, course, application and purpose, so use this guide to prepare—not as a substitute for the current instructions from your college, university or other responsible authority.
Start with a simple rule: keep the original documents safe, maintain clear copies and check the official checklist for every application. Do not assume that a document accepted by one college, portal or employer will automatically be accepted by another.
College documents to keep together
Organise records into groups rather than keeping every paper in one loose file. Some items are useful throughout your education; others apply only if a particular college, course or scheme asks for them.
| Document group | Examples | What to check |
|---|---|---|
| School and qualifying-study records | Class 10 and Class 12 marksheets, passing certificates, board or examination records, and entrance-test documents where relevant | Names, subjects, marks or grades, roll or registration numbers, and result status |
| College and university records | Admission confirmation, fee receipts, student identity card, bonafide certificate, semester marksheets, transcript, provisional certificate and final degree certificate | Course title, department, enrolment number, academic session and issuing institution |
| Transfer and conduct records | Transfer certificate, leaving certificate, migration certificate or character certificate, if requested | Which office issues it, whether the receiving institution requires it, and the submission format |
| Identity and personal details | Documents accepted as identity or date-of-birth proof by the relevant application | That the document is current where required and that details match the form |
| Conditional or category-based records | Reservation, disability, income, domicile or other supporting certificates, where applicable | Whether the application requires one, the issuing authority, validity conditions and prescribed format |
| Application and payment records | Submitted forms, acknowledgement pages, correspondence and fee receipts | Application number, transaction reference, dates and the application to which each record belongs |
This is a preparation list, not a universal admission checklist. For an exact requirement, read the current admission notice, prospectus or portal instructions and contact the responsible admissions office if anything is unclear.
Build a document system before you need it
- Make a master inventory. List each document, who issued it, where its original is stored and where its digital copy is saved. Mark items as available, requested or still to be collected. Do not write sensitive identification numbers in a file that you share casually.
- Separate originals from working copies. Keep originals in a labelled folder or document pouch in a secure, dry place. Use photocopies or digital copies for preparation unless the official instructions specifically require an original to be presented. If an office asks to inspect an original, ask whether it will be returned immediately and follow its stated process.
- Scan legibly. Capture every page, including the back if it contains information, stamps or instructions. Check that the text, photograph, seal and any handwritten entry can be read. Avoid shadows, cut-off edges, glare and filters that alter the document.
- Name files clearly. Use descriptive names such as Class12_Marksheet or Semester3_Marksheet, adding the year or term when useful. Keep files in a consistent order so you can find the correct version quickly. Follow the application portal’s file type and size limits rather than repeatedly compressing a file until it becomes unreadable.
- Keep a submission record. Save the completed application, uploaded files, acknowledgement and payment receipt together. Note the date and application reference. This makes it easier to answer a query or identify exactly what you submitted.
Check details before submitting
Small differences can lead to questions or delays. Before uploading or handing in a file, compare the application with the supporting record. Look carefully at your full name and its order, date of birth, parent or guardian details where requested, course name, examination year, roll number and category selection.
Names may appear differently across records because of initials, spacing, spelling, a name change or data-entry error. Do not edit a scanned certificate yourself or ask someone to alter an official record. First find out which record is incorrect and contact the office that issued it to ask about its correction procedure. If an application deadline is close, contact the receiving institution through its official admissions channel and ask what evidence or next step it accepts while the issue is being addressed. Keep copies of the correspondence.
Check that marksheets and certificates are complete and readable, and that any required pages are included. A photograph of a paper document may be unsuitable if a portal asks for a scan or a prescribed digital file. Likewise, do not assume that a screenshot, printout or digital locker copy meets a particular institution’s requirement. Confirm the accepted document type and submission method with the relevant official source.
Digital copies and document security
Digital records are useful for applications, but they need the same care as paper originals. Store copies in a private account or device you control, use a strong password and enable additional account security where available. Avoid leaving identity documents or certificates on a shared computer, public kiosk or someone else’s messaging account. When using a cybercafé or shared device, sign out, remove downloaded files and check that copies are not left in a public folder or print queue.
Use a secure backup, such as a second trusted storage location, so a lost phone or damaged device does not remove your only copy. Keep originals and backups separate where practical. Share only the documents requested, and avoid sending sensitive records to an unverified email address or personal number. Check the organisation’s official website or application portal for its contact details before sharing files.
India’s DigiLocker service may be useful for accessing documents issued through participating sources. Whether a particular college, university, employer or application accepts a document in a particular form depends on that organisation’s instructions. Check the service and the receiving organisation’s official guidance; do not rely on a general assumption about acceptance.
Requirements differ by purpose
College admission
Compare your records with the current prospectus or admission portal for the course and institution. The checklist may distinguish documents needed during online application, verification, enrolment or a later stage. It may also specify whether copies must be self-attested, whether originals must be shown, or how a document should be uploaded. These instructions can differ between institutions and application cycles.
Scholarship or fee-support applications
Read the official scheme or institution instructions carefully. Supporting records might be requested to establish enrolment, academic performance, identity, income or eligibility, but do not collect or submit every sensitive document unless it is relevant to the stated requirement. Check which authority issues each required certificate and whether the application specifies a format or period of validity.
Internships, placements and jobs
Keep a set of clear education records available, such as marksheets, degree or provisional certificate and transcript where applicable. A recruiter or employer may request a different combination at application, interview or verification stage. Follow the employer’s official instructions, submit only what is requested and do not hand over original certificates for an undefined period. If an organisation asks to retain an original, seek written clarification and consult your institution or a trusted adviser before proceeding.
Common mistakes to avoid
- Using an old checklist: Requirements can vary by course, institution and application. Check the instructions for the current process.
- Waiting until the last day: A missing certificate or correction may take time. Review the list early and ask the issuing office about unresolved records.
- Uploading the wrong file: Similar filenames can cause mix-ups. Open each file before submission and confirm that it belongs to the right person, course and academic term.
- Submitting an unreadable scan: Check every page at normal viewing size and replace blurry, cropped or incomplete copies.
- Altering an official document: Do not change names, marks, dates, seals or signatures in an image or PDF. Request a correction from the issuing authority.
- Assuming a copy will always do: Some processes require a specific original, certified copy or digital format. Follow the receiving office’s instructions.
- Sharing too much personal data: Send only the records the verified organisation requests, through the stated official channel.
- Discarding receipts and acknowledgements: Keep proof of submission and payment until the process is complete and any follow-up is resolved.
Practical examples
Example 1: A name differs between school and college records. A student notices that one certificate uses an initial while another spells out the name. Rather than changing the scan, the student checks the receiving college’s instructions, contacts the office that issued the inconsistent record and asks what correction or supporting evidence is appropriate. The student keeps the written response with the application file.
Example 2: A portal asks for a certificate the student has not collected. The student checks whether the certificate is required at that stage, identifies the issuing office and asks the admissions office what to do if it is still being processed. The student does not upload an unrelated document simply to fill the field.
Example 3: An employer requests education proof. The applicant confirms which records are needed and uses readable copies through the employer’s stated channel. The applicant keeps original certificates secure and asks for clarification before allowing any original to be retained.
Frequently Asked Questions
Which documents should every college student keep?
Keep your school and qualifying-study records, admission and enrolment information, fee receipts, college marksheets and any certificate issued on completion. Add transfer, identity or eligibility documents when relevant. The exact set depends on your course and future applications.
Do I need to carry original certificates for admission?
Some processes ask to inspect originals, while others specify copies or digital uploads. Read the current instructions from the institution and ask its admissions office if the wording is unclear. Do not assume the same process applies everywhere.
Are scanned copies or DigiLocker documents always accepted?
No single format should be assumed to work for every application. Check the receiving institution’s instructions for file type, certification and accepted sources. For DigiLocker documents, also confirm whether the specific receiving organisation accepts that form.
What should I do if my name or date of birth is incorrect?
Contact the authority that issued the incorrect record and ask for its correction process. Do not edit the document yourself. Tell the receiving institution about the mismatch and ask what it requires while the correction is pending.
How should I prepare a document for online upload?
Use a clear, complete scan in the format and size allowed by the portal. Check every page before uploading, use a recognisable filename and confirm that the correct document appears in the application preview if one is provided.
Can I send certificates over email or messaging apps?
Use the channel specified by a verified institution, employer or application portal. Before sending, confirm the recipient and share only the records requested. Avoid forwarding sensitive documents to unofficial contacts.
How long should I keep college records?
Keep important academic records, degree documents and key application or payment evidence securely for the long term. They may be useful for further study, employment or verification. Follow your institution’s guidance for any document it retains or issues later.
Conclusion
Good document preparation is less about collecting the largest possible stack and more about keeping the right records accurate, readable and secure. Maintain organised paper and digital copies, check names and other details early, and keep proof of every submission. Most importantly, confirm requirements with the official college, university, employer, scheme administrator or issuing authority responsible for your specific process. Their current instructions—not a general checklist—should guide what you submit.


Comments