Table of ContentsClick to view all sections
- Document Verification Guide: What document verification may involve
- Before you begin: a practical checklist
- Step-by-step: how to prepare for verification
- How to handle mismatches or missing records
- Examples: applying the checks in everyday situations
- Protect your documents and personal information
- Common mistakes to avoid
- Conclusion
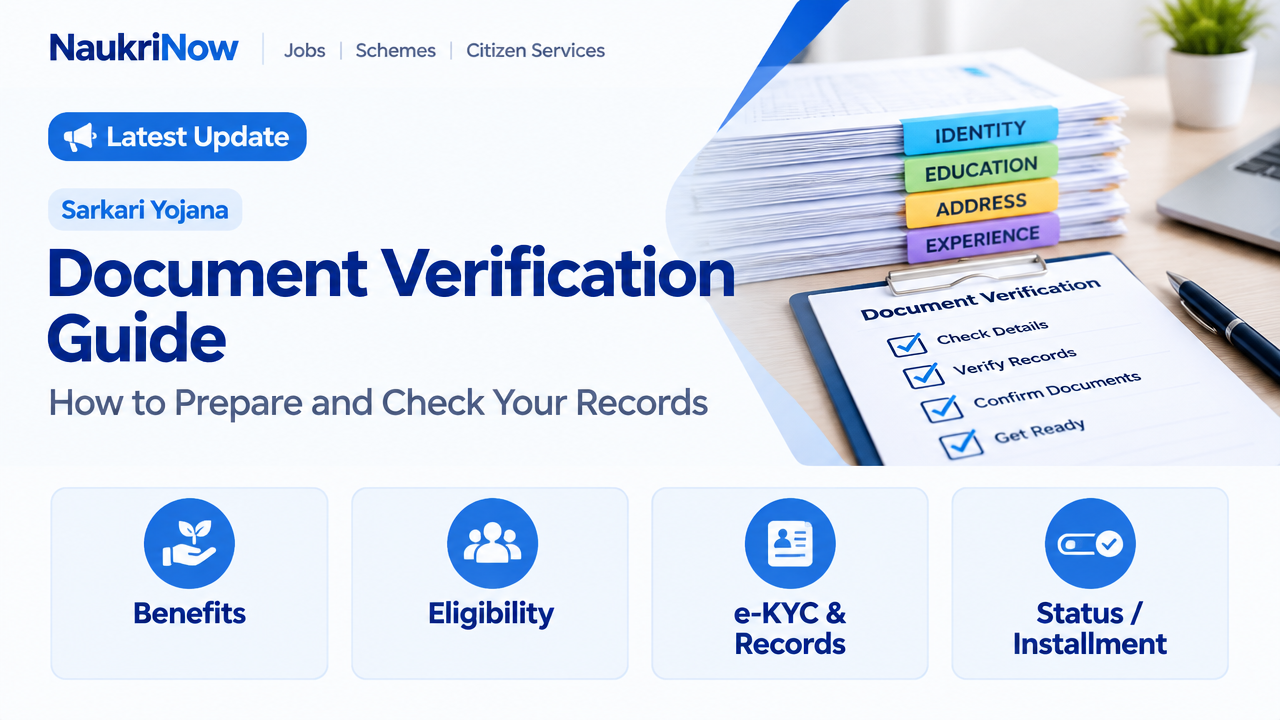
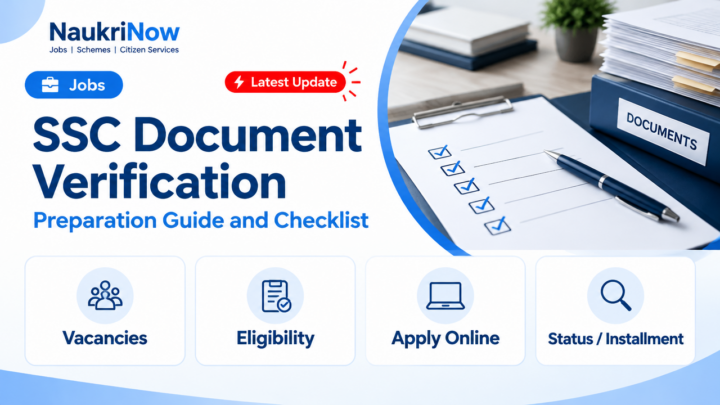
Document Verification Guide — this guide explains the latest verified details, eligibility, benefits, application or status steps, and official resources relevant to this topic.
Document verification is the process of checking whether your identity, qualifications, experience or other submitted details match the records held by the relevant issuer or authority. You may encounter it during recruitment, admission, licensing or an application for a government service. The exact documents and verification method vary, so there is no single checklist that applies to every case.
This guide explains how to prepare, what to check and how to handle common problems. Treat it as general guidance, not a substitute for the instructions issued for your application. For current requirements, deadlines, accepted formats or next steps, rely on the official notice, portal or organisation responsible for your case.
Document Verification Guide: What document verification may involve
A verifier may compare details on your documents with your application, inspect originals, review uploaded copies or confirm a record with the organisation that issued it. Depending on the process, checks may be in person, online or handled by an authorised verification provider. A check may cover identity, date of birth, education, work history, address or another specific claim.
Verification does not always mean that every document is checked in the same way. Some organisations may ask to see an original and retain a copy; others may accept a digital record or ask you to submit files through a portal. Never assume that a document accepted for one purpose will automatically be accepted for another.
Before you begin: a practical checklist
- Find the instructions for your specific process. Read the official notice, application portal or message from the responsible organisation. Note which documents are required, which are optional, what format is accepted and whether originals must be shown.
- List what you need to prove. Group documents by purpose—for example, identity, education, employment or address—rather than collecting every record you own.
- Check names and key details. Compare your application with the relevant documents for spelling, date of birth, parent or guardian name, course or qualification, roll or registration number and other details requested.
- Gather originals and copies as instructed. Keep originals safe. Make clear, complete copies, including the reverse side when it contains information, stamps or other relevant details.
- Prepare digital files if required. Check the portal’s stated file types, size limits and upload instructions. Use readable scans or photographs with all edges visible.
- Keep a record of what you submit. Save copies of uploaded files, receipts or acknowledgement messages and any correspondence about your verification.
Requirements differ by employer, educational institution, department and type of application. If the instructions are unclear, ask the organisation handling the process before you travel, pay for a document or submit extra personal information.
Step-by-step: how to prepare for verification
1. Confirm the source of the request
Check that the request comes from the organisation responsible for your application. Use a contact method or website listed on its official site or in an authentic application notice. Be cautious if an unexpected message asks you to send identity documents to a personal email address, share a one-time password or pay an unverified person. A familiar logo or a message using your name does not, by itself, prove that a request is genuine.
2. Read the requirements carefully
Make a simple list of each document requested and the purpose it serves. Look for details such as whether the document must be current, whether a self-attested copy is needed, whether an original must be presented or whether a particular format is specified. Do not rely on a checklist from an unrelated process or an old social media post.
If the instructions use a term you do not understand, ask the responsible office to clarify it. Confirm whether substitutes are accepted before relying on one. An alternative document that works for a bank, employer or school may not meet another organisation’s rules.
3. Match the records to your application
Check every relevant detail against the form you submitted. Look beyond the spelling of your name: initials, name order, expanded names, date formats and transliteration between languages can also create apparent differences. Make sure that identifiers and academic or employment details are copied accurately from the source document.
A small mismatch is not always a reason to panic, but it should not be concealed. Find out what explanation or supporting record the organisation accepts. If an underlying document itself contains an error, contact its issuing authority about the appropriate correction process. Do not edit a scan or change a document yourself.
4. Make clear, faithful copies
Use a good-quality scan or photograph. The full page should be visible, text should be legible, and glare, shadows or fingers should not cover important details. Avoid cropping out seals, signatures, certificate numbers or the reverse side when these are relevant. Follow the portal’s instructions about colour, file type and size rather than repeatedly uploading a file that does not meet them.
Keep an unaltered copy of the original file. If an organisation asks for a self-attested copy, follow its stated method. Do not add declarations, marks or information unless requested. Never present a modified image as an original record.
5. Organise physical documents for an appointment
Arrange documents in the order requested, using a folder that keeps pages clean and easy to find. Carry originals only when instructed and keep them in your possession unless the official process clearly requires otherwise. Before leaving, check the appointment details, location and any instructions about copies or accompanying people.
At the appointment, show documents when asked and ask for a receipt if an original is retained. If anything is unclear, request an explanation before handing over an important record. Do not leave original certificates with an intermediary without confirmation that the person is authorised to receive them and that you will get an acknowledgement.
6. Submit digital records through the right channel
Use the official portal or another submission route named by the responsible organisation. Check that you are on the correct website before signing in or uploading files. Do not send sensitive records through an unofficial link supplied in an unsolicited message. If a digital document service is offered, confirm that the organisation handling your case accepts that record for this specific purpose; acceptance is not universal.
After submission, save the acknowledgement and check whether the portal shows that each file was received. If a file is rejected, read the stated reason and correct the issue using a genuine, unchanged record. Keep your login details and one-time passwords private.
How to handle mismatches or missing records
Differences can arise because of a spelling variation, a name change, a data-entry error or an incorrect entry in an older record. Start by identifying exactly which detail differs and which document contains the error. Then contact the organisation responsible for the application or the authority that issued the document, depending on where the problem originated.
Ask what evidence or correction procedure is accepted, and keep a record of the guidance you receive. A supporting document may help explain a difference, but whether it is acceptable depends on the process. Do not assume that an affidavit, declaration, newspaper notice or other form of evidence will be accepted unless the responsible authority confirms it.
If a document is lost, contact its issuer or the organisation handling your case to ask about an official replacement or an accepted alternative. Do not create a replacement yourself or use a document that only looks similar. If a deadline is involved, contact the responsible office promptly and follow its instructions about reporting the issue.
Examples: applying the checks in everyday situations
Job application
Suppose your application lists a degree and a previous role. Compare the qualification details with the certificate or official academic record, and compare employment dates and job titles with the records you are authorised to provide. If a former employer used a different title from the one on your application, explain the difference honestly and ask the recruiter what supporting evidence is appropriate. Never invent duties, dates or credentials to make records appear consistent.
Admission or professional course
An applicant may need to show academic records and identity details. Check that the name and other details used in the application match the records requested by the institution. If a mark sheet is missing or a record has an error, contact the issuing board, university or institution and the admissions office. Ask both sides what to do rather than assuming that an unofficial copy will be enough.
Government service or other official application
For a public-service application, use the current instructions published by the department or official portal responsible for it. Identify exactly which proof is requested and for what purpose. Requirements can differ across services and can change, so do not rely on a checklist meant for another application. Submit information only through the stated channel and retain its acknowledgement.
Protect your documents and personal information
Identity and education records can contain information that may be misused if shared carelessly. Send only the documents requested, and only to a verified recipient. Avoid posting full document images publicly or sending them to people who claim they can guarantee selection, admission or approval in exchange for a fee. A request for an OTP, password or remote access to your device is a serious warning sign.
Store digital copies in a secure place and avoid using shared devices or public networks for sensitive submissions where possible. Sign out when finished, especially on a shared device. If you suspect that your information has been sent to the wrong person or exposed, contact the organisation responsible for the process and follow its official advice. Do not share additional details with an unverified caller claiming to fix the problem.
Common mistakes to avoid
- Using an old or unrelated checklist: Requirements may differ even between similar applications. Check the instructions for your exact process.
- Assuming that a digital copy is always enough: Some processes ask to inspect an original or use a specific digital source. Confirm what is accepted.
- Uploading blurry or incomplete files: A cut-off page or unreadable number can delay a review. Check each file before submission.
- Ignoring small inconsistencies: Do not hope that a mismatch will go unnoticed. Ask how to explain or correct it.
- Changing a document image: Do not edit names, dates, marks, signatures or seals. Seek a correction from the issuer.
- Handing over originals without a clear reason: Ask whether the original only needs to be inspected and request an acknowledgement if it is retained.
- Trusting unofficial agents or links: Verify the request with the responsible organisation using its official contact details.
- Sending extra information “just in case”: Share only what is requested through the approved channel.
Frequently Asked Questions
Which documents are needed for document verification?
It depends on the purpose and the organisation handling the process. A job, admission or government application may require different records. Follow the current official checklist for your specific case rather than assuming a standard set.
Do I need to bring original documents?
Only if the instructions require them or the organisation asks to inspect them. Check whether originals must be presented, submitted or simply kept available. If an original is retained, ask for an acknowledgement and information about its return.
Are photocopies or scanned copies acceptable?
Some processes accept copies or uploads; others require an original, a certified copy or a particular digital record. Use the format stated by the responsible organisation. A clear scan does not automatically replace an original when one is required.
What should I do if my name is different across documents?
Identify which record differs and ask the application authority what evidence it accepts to explain the variation. If the record itself is incorrect, contact its issuer about correction. Do not alter the document or assume that a particular supporting declaration will be accepted.
Can I use a document from a digital document service?
Possibly, but acceptance depends on the organisation and the purpose. Check the official instructions to see whether that source and format are accepted for your case before relying on it.
What if I have lost a required certificate?
Contact the issuing organisation about an official replacement or record, and inform the authority handling your application if needed. Ask what alternatives are acceptable and follow the stated process; do not use a recreated or unofficial substitute.
How can I tell whether a verification request is genuine?
Check it through the organisation’s official website, portal or contact details published by that organisation. Be cautious with unexpected links, personal email addresses, requests for OTPs or passwords, and promises of guaranteed approval.
Conclusion
Good preparation makes document verification easier: read the instructions for your exact process, compare your records with your application, submit clear and genuine copies, and keep originals secure. Address mismatches openly and ask the issuer or responsible authority what evidence it accepts. Because requirements and procedures can change, use the official source handling your application for current facts and final instructions.
Comments